In your client projects, do you keep installing the same theme or plugin that you have developed? Do you make a fix in one project that you really wish you could easily roll out to all the other projects? If so this guide is for you.
Composer is a powerful tool that can be used to pull other projects into your PHP project. Best of all if you maintain your WordPress plugins and themes in Github, you can easily pull them into your project.
Prerequisites
- Install composer
- Have your theme or plugin files in a GitHub repository
Configure Your Plugin or Theme
In this example we will configure a theme, but the principle is the same for plugins and mu-plugins.
Add a composer.json file to the root of your project. In it write the following code:
{
    "name": "wholesomecode/composer-example-theme",
    "description": "Demonstration of how to use composer within WordPress",
    "type": "wordpress-theme",
    "require": {
        "composer/installers": "~1.0"
    }
}
Note the type parameter. You can set this to wordpress-theme, wordpress-plugin or wordpress-muplugin.
Set the name of your plugin to be the same as the GitHub slug. You could make it different, but it will keep things simple if it’s the same.
Requirements
The composer/installers requirement will do the majority of the work for us, as that understands where WordPress dependancies are installed, and will install them into the common path for them dependant on type (note that we can override this if we need to).
Commit the File
Commit this file to the root of your GitHub project (theme or plugin).
Configure Your WordPress Project
Next we want to configure your WordPress project so it will pull in themes and plugins via Composer.
Create a composer.json in the root of your WordPress project (or amend an existing one if it already exists).
Ensure it contains the following lines of code:
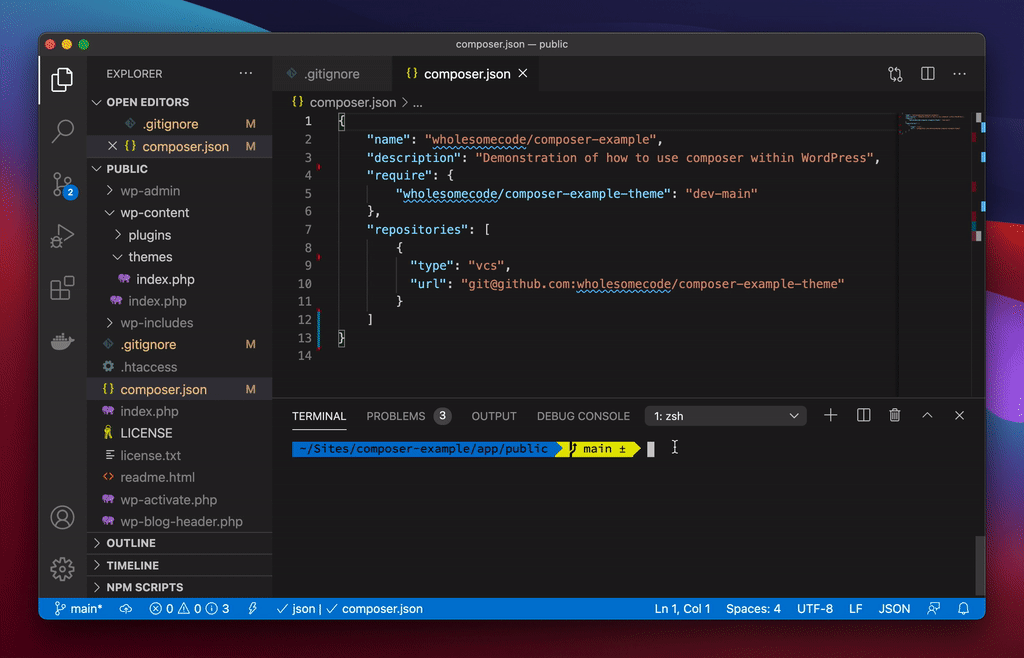
{
    "name": "wholesomecode/composer-example",
    "description": "Demonstration of how to use composer within WordPress",
    "require": {
        "wholesomecode/composer-example-theme": "dev-main"
    },
    "repositories": [
        {
          "type": "vcs",
          "url": "git@github.com:wholesomecode/composer-example-theme"
        }
    ]
}
Note that we require the path of the project we configured earlier (the theme).
This indicates the version of the project we are installing. If you usetagged releases in Github(which I highly suggest you start to do if you use this method) you could set this to a version number.
For this example we are just going to download the latest version from a branch. In this case the main branch. If you want to use a different branch you need to write it as dev-[branch-name].
Repositories
The entry in repositories shows the Github install path, and that the type is vcs, which just means we are installing it from a Version Control System (GitHub).
GitIgnore
If your WordPress project is also on GitHub then you want to make sure that you don’t commit the theme (or plugin) along with the project. Add this entry to your .gitignore file:
/vendor
wp-content/themes/composer-example-theme
Note that we have also added /vendor to the file to ensure that we do not commit additional files installed by composer.
Running Composer
Providing your WordPress project has a common setup (your composer.json file is in the same folder as your wp-content folder) we don’t need to do anything else (If not see the custom install path guide).
In your terminal, ensure you are in the same folder as your composer.json file and enter the following command:
composer installIf you have ran composer before and have a composer.lock file, you can run composer update.
The theme we created will be installed into wp-content/themes/composer-example-theme:
Running Composer Install to install a theme from GitHub
What Happened?
- The theme has been installed into
wp-content/themes/composer-example-theme - A
vendorhas been created that contains the installer files used to put the theme in the correct location - A
composer.lockfile has been created. This makes a note of the file versions you are using. If you commit this then other people that run thecomposer installcommand will get the same versions.
Extra: Custom Install Path
You can alter where your plugin or theme installs to by adding the following code to your WordPress projects composer.json:
"extra": {
  "installer-paths": {
    "wp-content/themes/{$name}/": [
      "type:wordpress-theme"
    ]
  }
}
Add this under the repositories section. Like so:
{
    "name": "wholesomecode/composer-example",
    "description": "Demonstration of how to use composer within WordPress",
    "require": {
        "wholesomecode/composer-example-theme": "dev-main"
    },
    "repositories": [
        {
          "type": "vcs",
          "url": "git@github.com:wholesomecode/composer-example-theme"
        }
    ],
    "extra": {
    "installer-paths": {
      "wp-content/themes/{$name}/": [
        "type:wordpress-theme"
      ]
    }
  }
}
The code above would install any GitHub plugin with the type of wordpress-theme into wp-content/themes/ followed by the name of the plugin (omitting the vendor name prefix).
You can alter this path however you please, for example:
"wordpress/content/themes/{$name}/": [
  "type:wordpress-theme"
]
This would install the theme into wordpress/content/themes.
Path by Project Name
Let’s say that you need one particular plugin to be installed in a certain location. You can use the project Name to do this, like so:
"wp-content/themes/my-custom-theme/": [
  "wholesomecode/composer-example-theme"
]
This time I have indicated that I want to install the project with the Github path of wholesomecode/composer-example-theme (its vendor name and name) into the path wp-content/themes/my-custom-theme.