When creating a block in the WordPress Block Editor (Gutenberg) you have likely been using JavaScript to render the block into the content of your post. In this guide we are going to look at using PHP to render the block, creating what is known as a ‘Dynamic Block’.
We are going to keep it simple in this guide and expand on what we have already built in our WordPress Gutenberg plugin guide. However dynamic blocks are super useful for presenting more complex information in a block, such as a post loop.
Prerequisites
- Be familiar with creating plugins for WordPress Gutenberg
Create PHP for the Dynamic Block
If you haven’t already, complete the steps in the WordPress Gutenberg plugin guide, so that you have an editable RichText area.
Add the following PHP into your plugin (in this example wholesome-plugin.php ), replacing the block of code starting with register_block_type:
register_block_type(
'wholesomecode/wholesome-plugin',
[
'attributes' => [
'blockText' => [
'default' => 'Wholesome Plugin – hello from the editor!',
'type' => 'string',
],
],
'editor_script' => 'wholesomecode-wholesome-plugin-block-editor',
'editor_style' => 'wholesomecode-wholesome-plugin-block-editor',
'render_callback' => function( $attributes, $content ) {
$block_text = esc_html( $attributes['blockText'] );
return "$block_text
";
},
'style' => 'wholesomecode-wholesome-plugin-block',
]
);Attributes
The first thing you will notice is that we have re-defined the attributes in this file, and they are the same as those that we defined in the /src/index.js file in our previous guide.
The reason we need to do this is so that our output can access the attribute types and their default content.
Render Callback
In the code above we have also added the argument render_callback to the register_block_type function. This handles the output of the block, superseding the save function in the /src/index.js file.
The render_callback function takes two parameters. These are:
$attributes— this receives the attributes we defined in both theattributesargument of this function and those in the/src/index.jsfile$content— this receives whatever has been saved via thesavemethod in the/src/save.jsfile. This is handy if we are renderingInnerBlocks, which otherwise would not be passed into the PHP render method.
In this example we have used an anonymous function for the render_callback, but we could have quite easily just passed in a reference to a function here instead, and defined this elsewhere.
Note that we do not have the ability to access the props in the PHP render_callback, so we have had to manually add the HTML class to the <p> tag so that our styles still work (in theory we could take advantage of the $content parameter and do a bit of find and replace trickery if we wanted them, but thats something for another guide).
Remove the JavaScript Save Method
As previously mentioned the $content parameter of the render_callback function stores the output of the JavaScript save method, but note that we are not using this in our code.
In the file /src/index.js replace the save method with the following:
save: () => null,This tells the save method to return nothing.
Remove the save Import
While we are at it, also remove the following line from /src/index.js:
import save from './save';You can now delete the /src/save.js file too.
Compiling the Plugin
Open the terminal, make sure you are in the root directory of your plugin and run the following command:
npm startThe script will compile. If you have any errors the terminal should make you aware of what they are.
Use the Dynamic Block
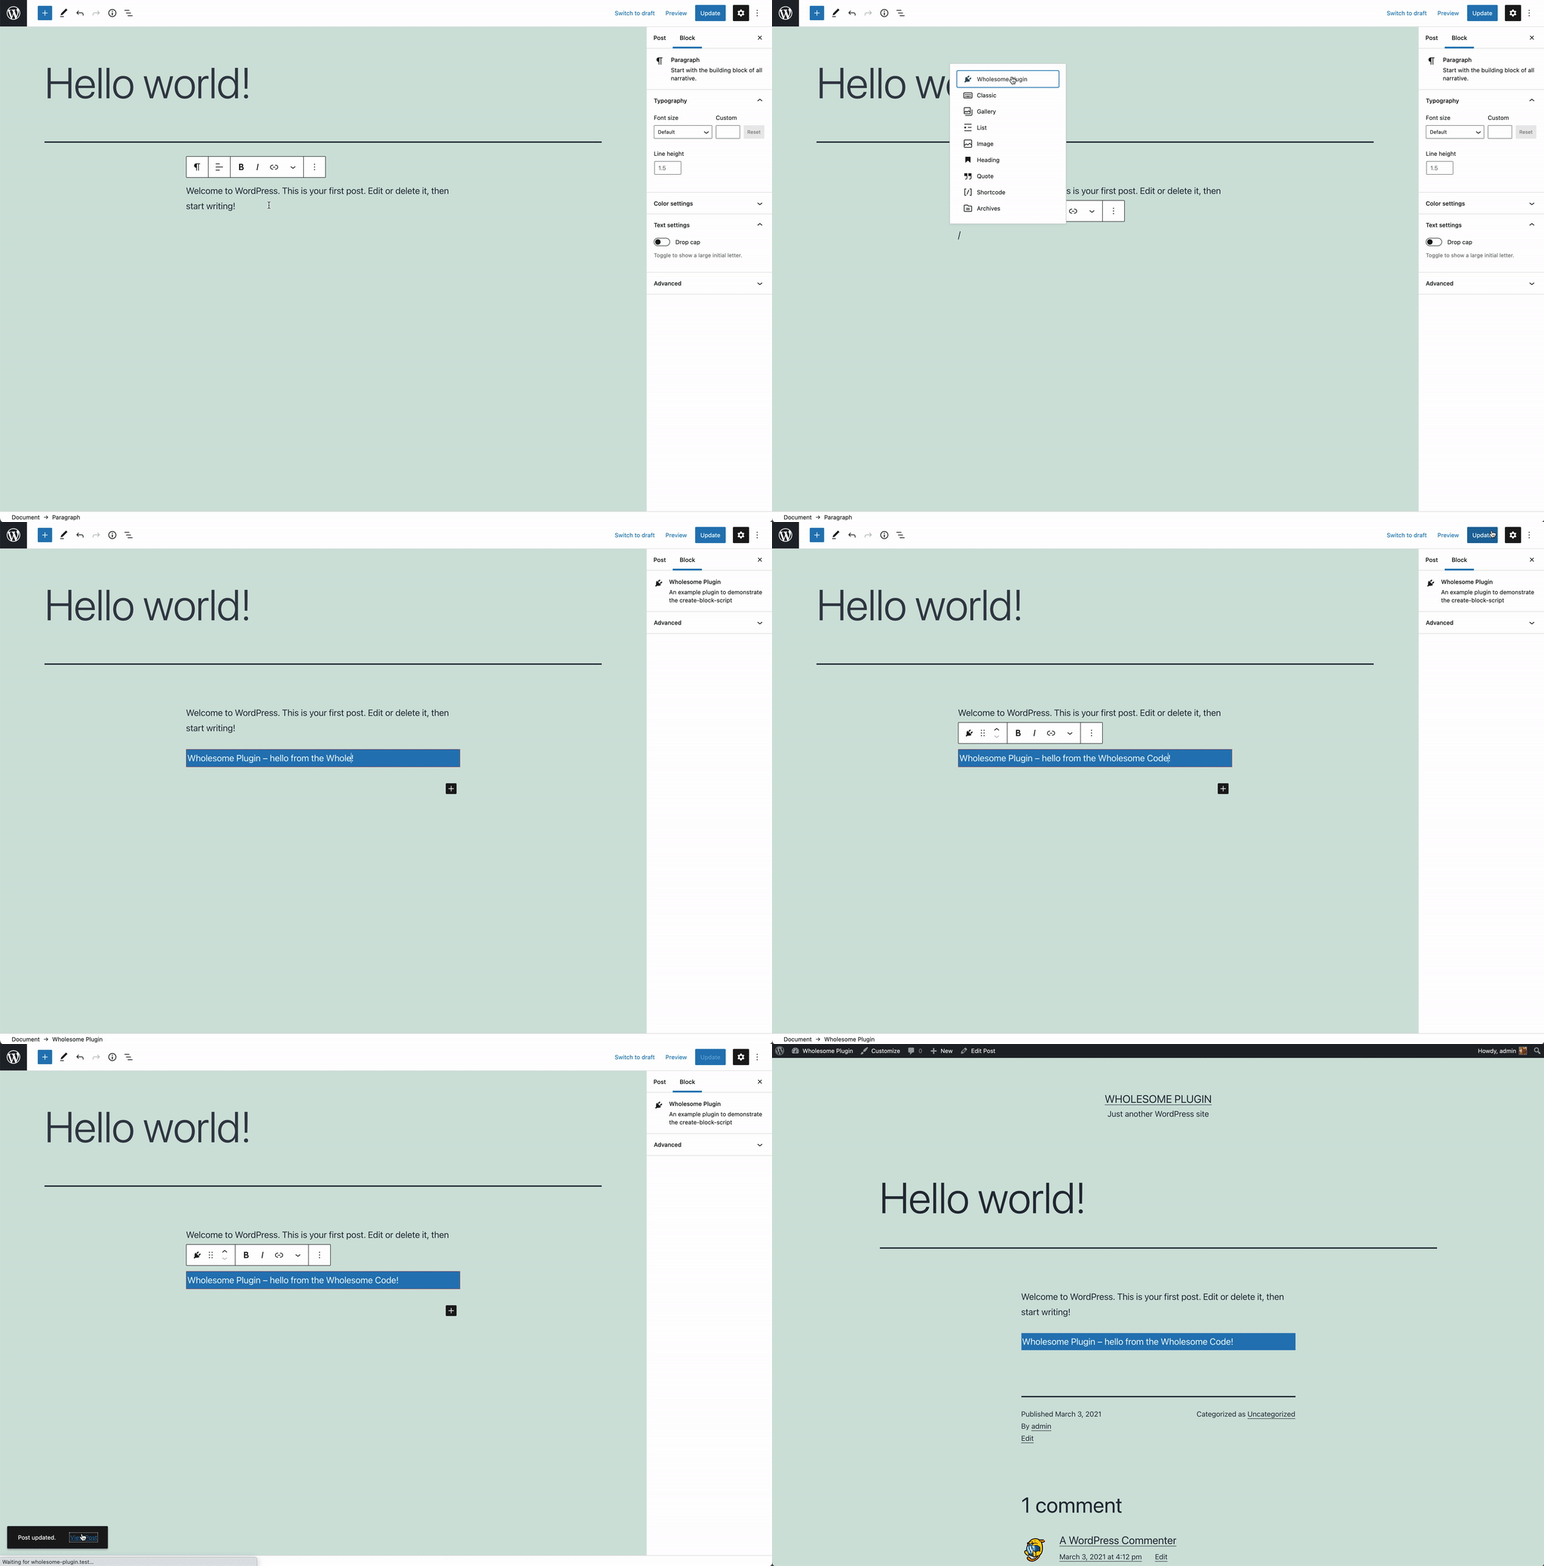
You should now be able to insert the block into a page, edit its content and view it on the front end.

The Dynamic Block In Action
In this basic example block will look and behave the same as if you had used a JavaScript render method.
Extra: Taking it Further
- Have a look at creating nested child blocks with the
InnerBlockscomponent - Explore storing Gutenberg attributes as post meta fields